I love technology. I’m blogging from the pick-up line at my son’s school. You have to be here thirty minutes early just to get your car in the line! While I have my youngest son entertained with a pencil, paper and Bolt on the DVD player as we wait, I am bored! So it was between Candy Crush or blogging and since I am on a seemingly impossible level on that game (I refuse to pay for boosters) blogging it is!
I used to really cringe at the sight of mid century furniture. Maybe it was the memories of the light-orange wood filling my grandmas house or the smell of the pieces I would stroll past at resale shops. In any event, I’m over it and I’m a little embarrassed that I judged this era so harshly. I can swallow my pride and say that I’m becoming quite fond of the style that I have described in the past as “the worst mistake Ethan Allen ever made” I’m sorry Ethan Allen, I’m sorry 1950’s, I’m sorry Grandma!
These pieces that seemed so boring and plain to me actually have a lot of neat, sleek, architectural detail and with some paint and a little creativity (or Pinterest) they can look fab!
Meet shingle-front Shelly.
 She’s an easy going gal whose older style could make a comeback with a few updates. I looked through Pinterest for awhile and found this cutie for inspiration.
 I thought since my dresser didn’t have knobs or pulls, it might be boring just one color so I decided to extend the stripe down the drawers. After measuring and marking where I wanted the exposed wood stripe I taped it like so…
 I then removed the drawers and painted a cream chalk paint just outside of the tape.
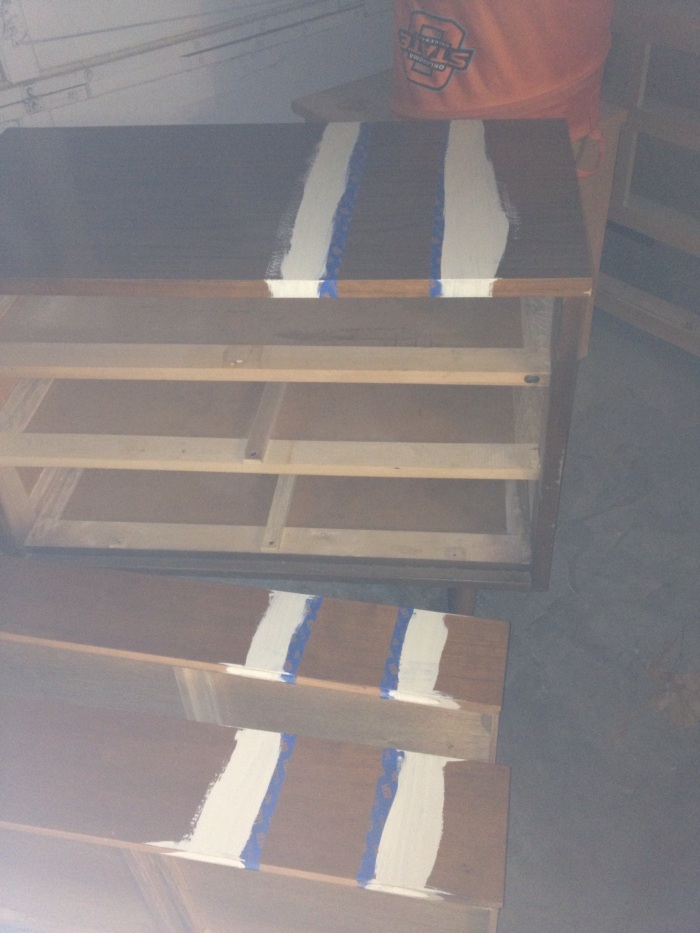 I removed the tape and after it dried I lightly sanded the painted areas and topped with a clear wax. After that dried I taped again for the navy chalk paint leaving a strip of the cream color under the tape.
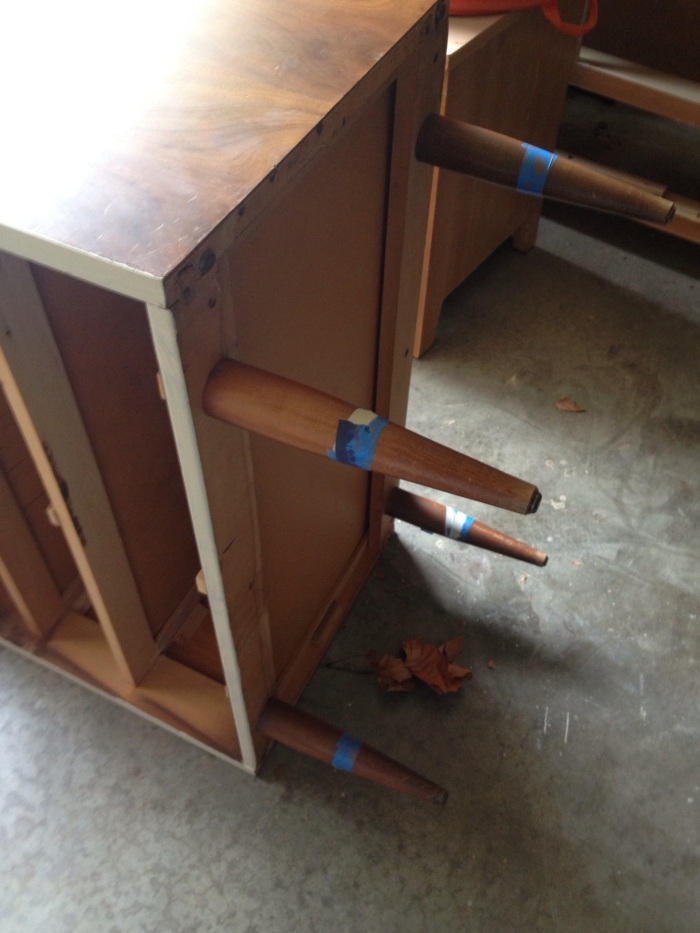
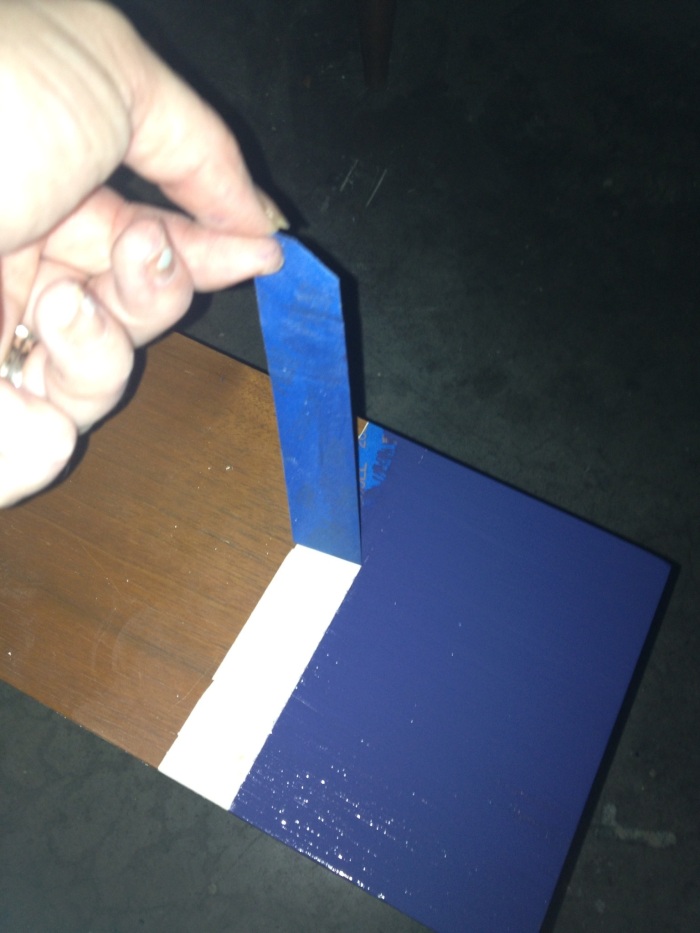 I painted the top of the dresser navy and the sides cream. I also added a “dipped” look to the legs by taping off the tops and painting the bottoms cream.
 Here comes the fun part, I centered number stencils in the middle of the wood stripe on each drawer. I taped them down and sponged on the cream color with a sponge brush.
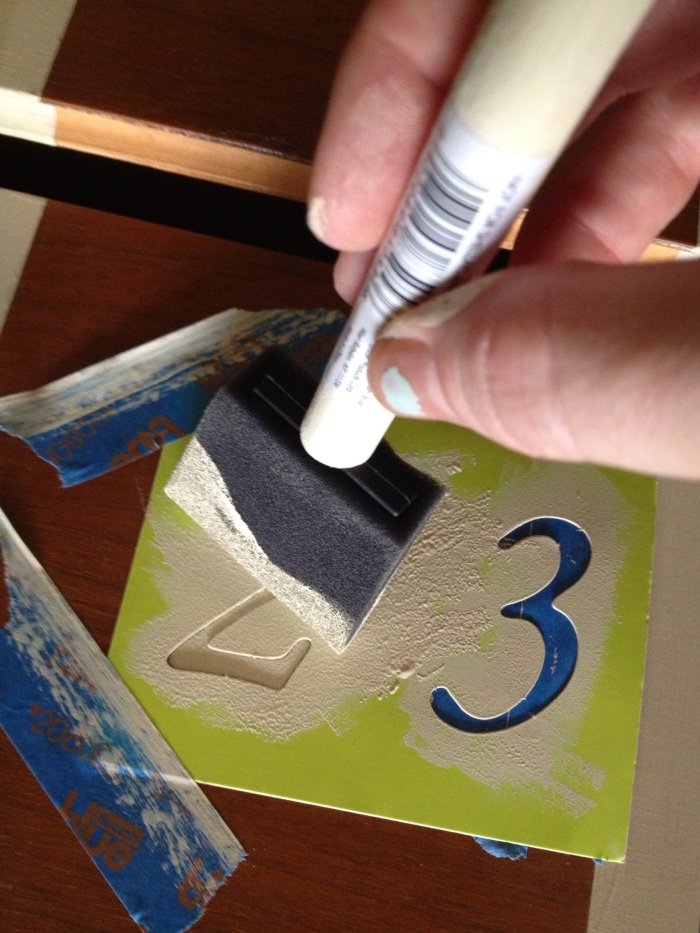 and I added a lil somethin’ extra on the top.
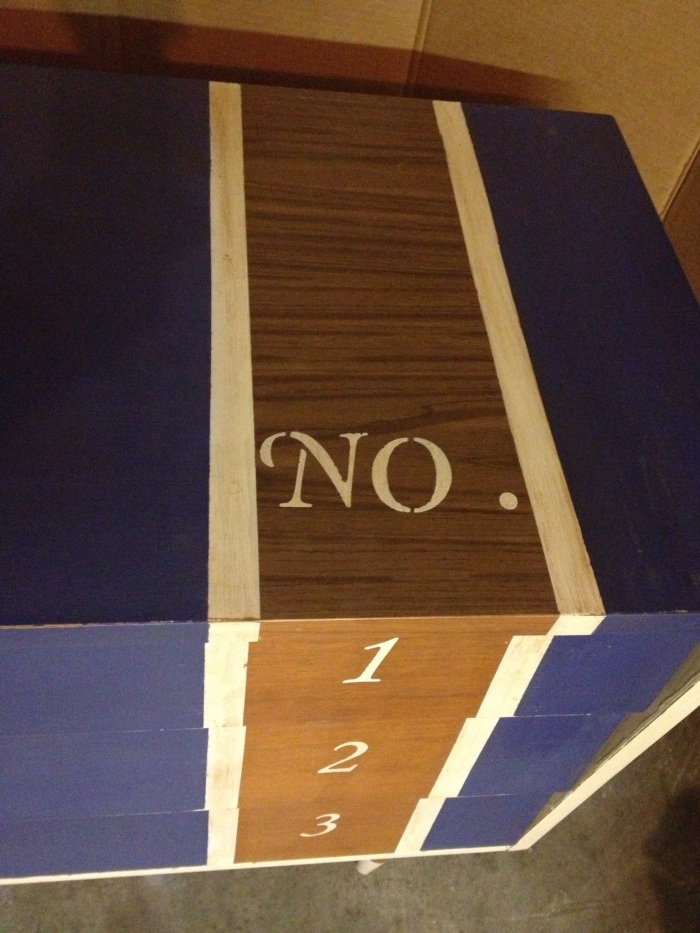 After it all dried I gave it a good light sanding all over, distressing more on the edges with my sanding block. Then I layered one coat of Minwax finishing paste wax and topped with a coat of my DIY dark wax.
 Shelly is updated and ready to add some mid century-cool to someone’s bedroom or entryway. Actually, I think she would look pretty great in just about any room.


