Pleasant Little Surprises

20130801-212122.jpg
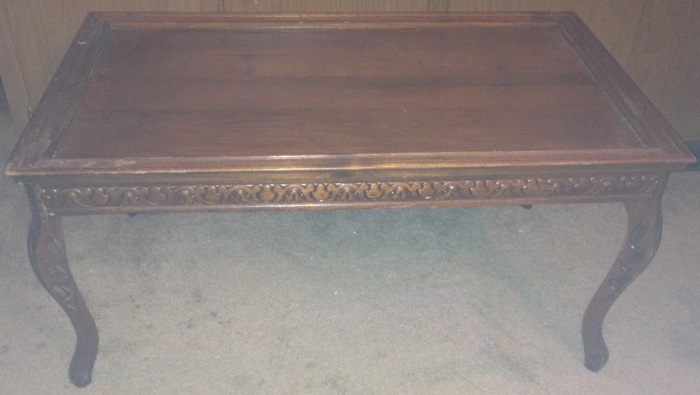
A friend found a pretty neat little table set for sale and immediately contacted me. She gave me the link and told me she thought I could work with them. How sweet is that? I love that people think of me when they see junk 🙂 She was right, they had great lines and they were already primed! Score!
20130801-213109.jpg
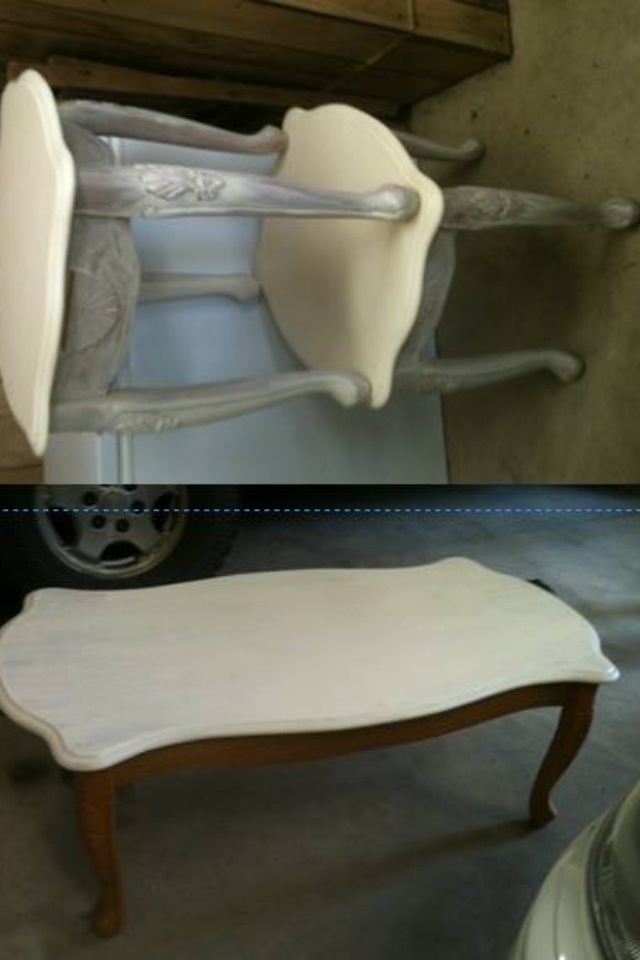
They sat in my craft room for a few days, while i tried to get the creative juices flowing before I actually started painting them. I still didn’t really know what I was going to do when I started but I decided to paint the legs in a minty green chalk paint. I haven’t done a mint color in awhile so that was really my only reasoning, I still had no plan. When I had them all painted, they looked okay with the white tops. So I thought I would just distress a little with my sanding block and apply my dark wax.

20130801-213933.jpg
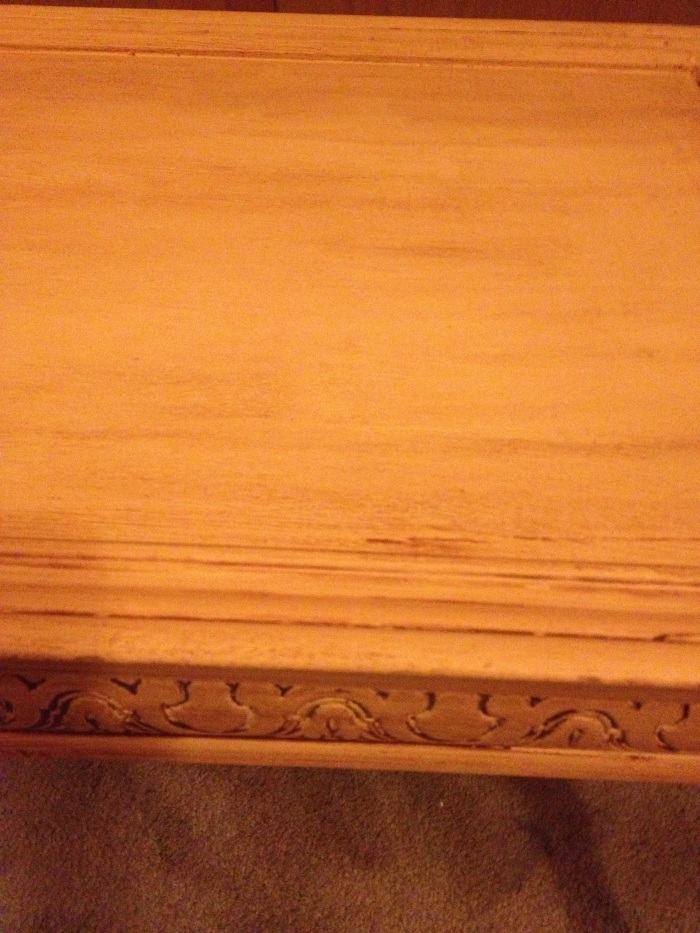
Meh… Why not sand the top and stain it? It couldn’t look any worse. I am so glad I decided to do that. After what seemed like an eternity of sanding( I have no idea what the heck that girl used to paint these tables) I thought I saw a little design or something. So I kept sanding and just look at I what I discovered!

20130801-214715.jpg
Are you kidding me? Who in their right mind would paint over something like that? Anyway, after sanding, I stained the top with Minwax Gel Stain in walnut.

20130801-215748.jpg

20130801-215801.jpg
Awesome. I left the white edges because I was tired of sanding plus I thought it looked cool. I did the same to the other end table an then thought “Omg, I hope there’s a design on the coffee table.”
Bingo

20130801-220421.jpg
I just love little surprises like that. With that small little detail my blah project turned into a beautiful set.

20130801-220836.jpg

20130801-220909.jpg

20130801-220855.jpg

Cutting Corners

20130709-223242.jpg
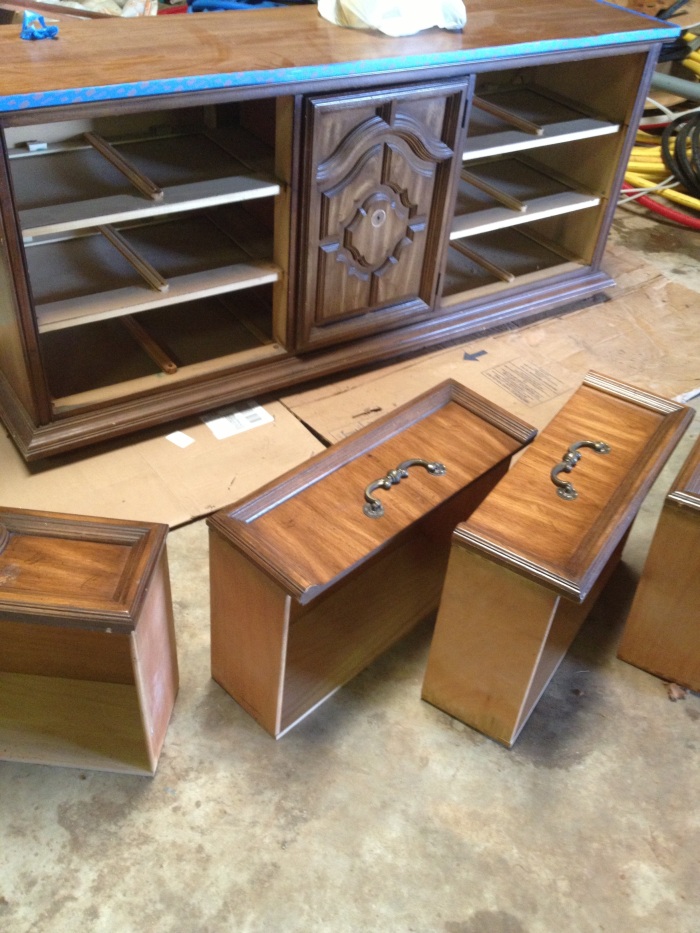
So…I have a touch of ADD, I lose interest fast! When I start a project, I like to finish it that day or it takes an act of God (or paying customer) to get me motivated again. This is why I have 3 unfinished projects in my garage and a half-painted craft room. When I decided to tackle this buffet today, I knew I had to work fast or this diamond in the rough would be sitting in my dads shop, half primed and looking sad for maybe a year. Thank you, Mom, for taking the boys all day so I could get this done!
I started prepping this piece before I realized I hadn’t taken a “before” picture. So this is what I got but you get the idea.

20130709-224823.jpg
Since I was trying to fit this into one day, I decided to go with spray paint, the cheaters paint. I used my new fave, Rustoleum Ultra Cover in a flat, white finish. It primes and covers quick! (First corner cut) AND its only $3.77 at Wal-Mart.

20130709-225613.jpg
I taped off the top of the buffet and after 3 cans of paint (I knew I should have bought 4) this is what I had.

20130709-230119.jpg
Eh, a little sparse in some areas but I didn’t have time to mess with Wal-Mart again so I convinced myself that the variance in coverage would only add to the aged look I was going for. (Corner cut? Check!)
Time to wax, and since I was impatient and didn’t wait long enough after painting and there were some sparse areas, some of the paint rubbed off when I was using my newly discovered DIY dark wax. But guess what… I liked it! It looked like I had done some distressing, but I didn’t. (If you’re keeping track, that is the 3rd corner that has been cut)

20130709-232101.jpg
So I kept waxing and I ran out of wax right here…

20130709-232354.jpg
Yeah, a drawer and a half left. So I ran home, made some more and popped it in the freezer to speed up the cooling. While my wax was setting up I rushed to Hobby Lobby to grab a knob for the door since it was missing its pull. By the way, knobs and pulls are no longer ALWAYS half off at HL anymore. According to sales clerk, Jonathon, they are now going to be on sale when the wood products go on sale because that makes sense. Luckily, I always use the 40% off coupon on my phone. (I guess going to HL while the wax was setting could be considered cutting a corner but for arguments sake lets just call it good time management)
I returned with my knob and my wax and finished that step (3 steps in one really- waxing, antiquing and distressing- not to toot my own horn or anything) I peeled off the tape and realized that I liked the color of the top with the body of the piece so I did not “stain” the top like I had originally intended. (You guessed it-cut corner) I attached all of the pulls and my one lonely knob and she was done! And she was beautiful, cornerless and all.

20130709-233940.jpg

20130709-234507.jpg

DIY Dark Wax

20130708-012034.jpg

Sometimes, in the evening, after the sun goes down, I get an idea or an itch to do something I’ve wanted to do. Then I stay up until midnight or later working on it (inside, and the hubs hates it). So tonight after watching Franklin and Bash (I LOVE that show) I decided to try making my own dark wax.
Lazy Julie has been saying for some time now “Why wax the furniture and then glaze it? That’s an extra step! You could just buy some Annie Sloan Dark Wax and cut your time.” Then cheap Julie says “Heck no! That stuff is expensive!” So I made them compromise and I made my own dark wax thanks to the tutorial from “Saving for Six”
I scooped out some of my trusty Minwax.

20130708-005153.jpg
Then I added some “burnt umber” oil paint.

20130708-005259.jpg
Got out an old pot, boiled some water and melted it, stirring it occasionally.

20130708-005412.jpg

20130708-005431.jpg
While the wax was drying I started painting this baby that I found at a garage sale yesterday for five dollars! She’s got such great detail, I thought she’d be perfect for my dark wax experiment.

20130708-005833.jpg
I mixed up a beautiful buttercream chalk paint and put 2 coats on her. I didn’t really try too hard to get the paint in all of the crevices, that’s a lot of work and hey, I was going to wax it to cover those areas anyway right?

20130708-010731.jpg
By this time, my wax had dried ( I stuck my finger in it while it was drying because I’m impatient and wanted to try it out before it was ready)

20130708-010931.jpg
Once my table dried (or maybe once it was almost dry) I started waxing it, using a t-shirt rag.

20130708-011159.jpg
This was so much easier than glazing! And I just love the way it turned out.

20130708-011338.jpg

20130708-012006.jpg

20130708-012249.jpg