The 80’s Called…

20130922-203828.jpg

And they want you to give their table another chance.
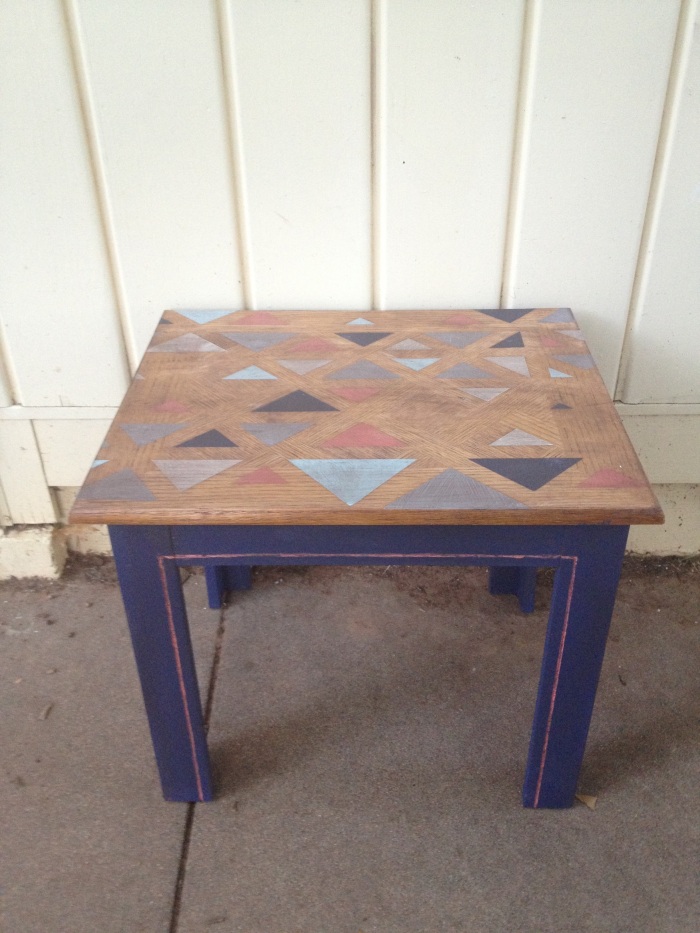
I know, it’s hard, it’s not my thing either. But it was two dollars at a garage sale and it was crying out for me to save it. Besides, the 80’s are making a comeback whether we like it or not. Clothes, hair, music and even creeping into home decor. I live in a college town and I see flash dance everywhere! That being said, a lot of college girls shop at our local antique mall where I share a little room/booth with my super crafty and super creative momma. So why not try my hand at reviving this sad little table. If I could change my mind about midcentury furniture then why not this?

20130922-193049.jpg I was inspired by a fellow blogger’s table. You really should check out her blog. She is a pretty neat chick. She did hers a little differently and it turned out awesome!

20130922-193944.jpg I sanded down the top first then wiped the dust off before I started taping. I wanted a random look like hers but my table had a parquet pattern on top so I went the easy route and kind of followed the existing pattern with my tape.

20130922-194858.jpg But I did paint the triangles randomly with 5 different colors of chalk paint that I mixed up. I used navy, gray, light blue, minty white and a coraly-pink.
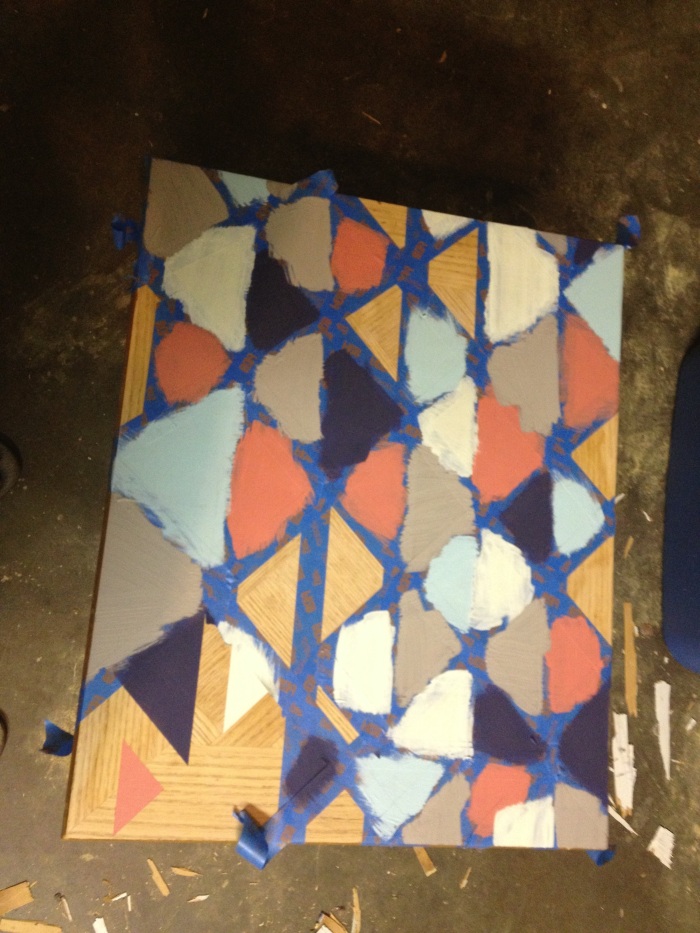
20130922-195843.jpg I pulled the tape off and after it dried, I gave it a light sanding.

20130922-200208.jpg I decided I wanted it to look a bit more vintage and muted so I stained over the wood and paint with Minwax Gel Stain in Walnut. I just rubbed it in with a rag.

20130922-200426.jpg I decided on navy for the legs and painted the little accent grooves in coral. Then I used my DIY dark wax on the legs and Flashdance was done! I’m not sure I’ve completely changed my stance on 80’s furniture but she surely is transformed.

20130922-200751.jpg

20130922-200808.jpg

20130922-200824.jpg

20130922-191308.jpg

Anthropologie Inspired Rosette Pillow Tutorial

20130920-135911.jpg

CH…CH..CH..CH…CHANGES!
I finally ordered a slipcover for a nasty couch in my den that I am slowly transforming. And it’s cute and it’s kind of plum and I love it.

20130920-123949.jpg What I don’t love is everything else in the room that I haven’t changed yet. Like this built in daybed.
20130920-124145.jpg Everything about it is gross. From the cheap looking wood to the nasty cover that came with the house to the dingy brown euro shams courtesy of an old bed set of mine. The whole idea behind redoing this room is using what we already have and keeping it cheap. So late one night, I pulled back the nasty carpet, mixed up a taupe-ish chalk paint and painted the darn thing. I also found a really cute fabric to recover the cushion with at Joann’s.

20130920-133008.jpg

20130920-133022.jpg It’s just tucked in right now, I’ll figure out how to sew it into a cover later.
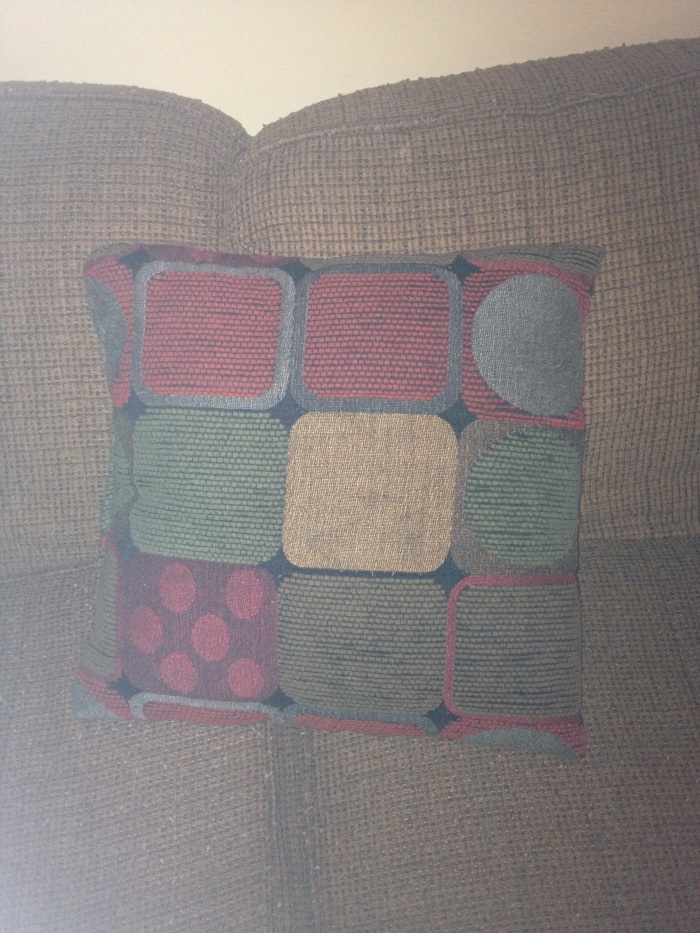
But those pillows… Ga-ross! I recovered a couple more pillows for my couch last week in another awesome printed burlap using my simple envelope pillow cover method.

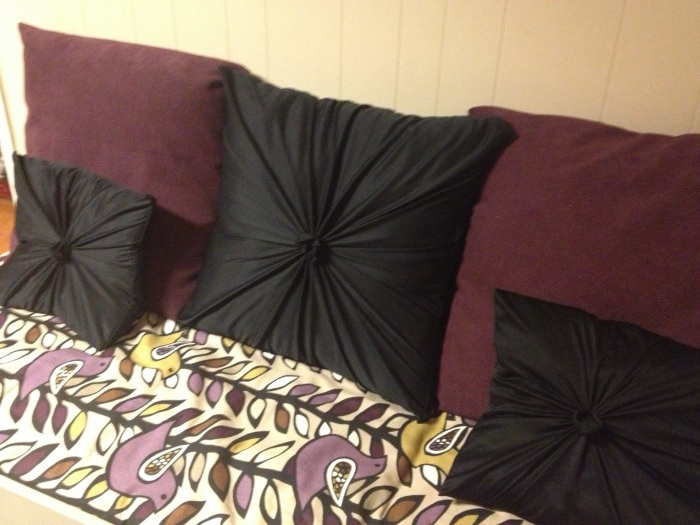
20130920-133541.jpg Once again, only $3.97 at Wally World! Since that method was tried and true for me, I decided to cover the euro pillows on the day bed. I used a cool, plum, chenille fabric for 2 of them but I wanted a cool pillow with some hip texture. So I decided to make a knock off Anthropologie ‘Rosette’ cover.

20130920-134334.jpg Soooo pretty! Soooo expensive! I had read a few tutorials on how to make one but they required pleating, which I don’t do. My neighbor just showed me how to correctly thread my bobbin. I decided I was pretty good with the envelope covers and I would stick with that. The key to getting the bunchy, gathered look without sewing pleats is to use a material with some stretch. I found a black, stretchy, jersey knit blend at Joann’s for 5.99/yd and I had a 50% off coupon. SCORE! I made the plain envelope cover but I made it just a couple inches too big. Once I placed the pillow inside, I pinched the fabric in the middle of the pillow and twisted it as I pulled it up.

20130920-135107.jpg Then I secured it with a rubber band. At this point, you can hand stitch the “knot” together, but I haven’t yet. It looks good and it’s pretty secure.

20130920-135411.jpg It was so easy I even made a couple more with my leftover fabric.

20130920-135627.jpg

20130920-135639.jpg Little by little, it’s coming together.

Oh No She Didn’t!

20130904-205940.jpg

Oh. Yes. I. Did!
Two projects in one day and two blog tutorials? What, whaaaat? I’m feeling a little peppy, confident…badass. So please excuse my cockiness.
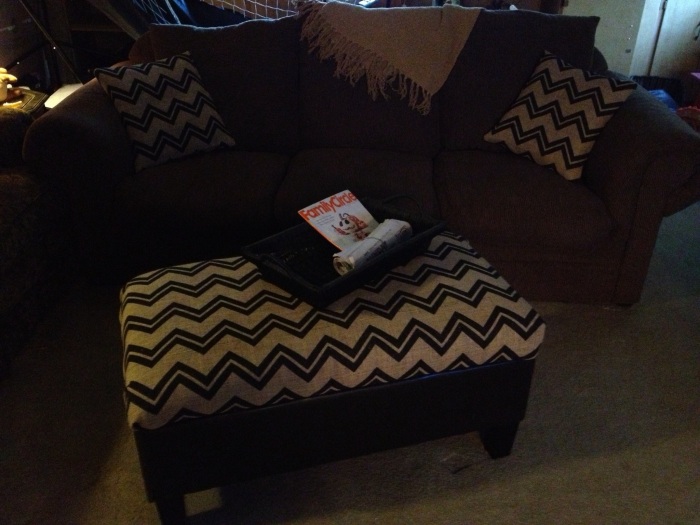
Earlier today I reupholstered (if you can call it that) my gross ottoman into something fabulous!

20130904-233836.jpg It has really started to transform my second-hand bonus room. And since I’m on the hunt for slipcovers for my couches and since I had some awesome leftover chevron burlap fabric, I decided to sew some envelope pillow covers.
This is what my pillows looked like before.

20130904-234203.jpg Don’t judge me on my cheap Big Lots buy from my early twenties.
Here are my instructions on how to sew an envelope pillow cover for a 16″x16″ pillow.
1. Cut your fabric 18″x44″ (you could probably go as short at 36″ on the length but I wanted to make sure there wasn’t a gap).

20130904-234621.jpg
2. Fold the short ends over about an inch and a half and iron them flat. Or just press really hard until it makes a crease and kind of stays, like I did.

20130904-234806.jpg
3. Then sew those ends like a boss!

20130904-234905.jpg
4. Next, lay down the fabric, print side up and wrap your pillow in it to see where your flaps will meet. Pin it or hold it real tight until you get to the sewing machine and hope for the best (like moi).

20130904-235151.jpg
5. Remove the pillow and sew those open ends (inside out) like a boss son!

20130904-235317.jpg
6. Remove thread jam and fix your bobbin then continue to sew those ends like. a. boss.

20130904-235501.jpg
7. Flip your cover right side in and stuff that old, nasty, eyesore of a pillow in that ish boii!

20130904-235649.jpg

20130904-235700.jpg
8. Sit back and admire the awesomeness that you have just created and obviously, do it like a boss.

20130904-235839.jpg

20130904-235857.jpg

20130904-235952.jpg
BAM! Now onward with my search for some cheap, badass slipcovers.

20130905-000123.jpg

20130905-000134.jpg

Waste Not, Want Not

20130904-142937.jpg
Le Sigh…
I have been wanting to redo our crappy den for quite some time now. It is the boys playroom and I shouldn’t care what it looks like but I do! My husband won’t let me buy all the things I want for that room (he doesn’t want to spend money on things that the boys will inevitably destroy) but I just can’t handle the old, ripped, stained furniture and carpet anymore. So I need to be creative.
I would love to get one of the chevron ottomans from West Elm pictured above, but with a $500 price tag, it’s just not feasible.
I have this…

20130904-144117.jpgGross. BUT…
I found this awesome chevron burlap at the walmarts for only…wait for it…$3.97/yd!!

20130904-150002.jpgAt that price, why not just try to cover it myself and make my own damn chevron ottoman? It couldn’t look any worse.
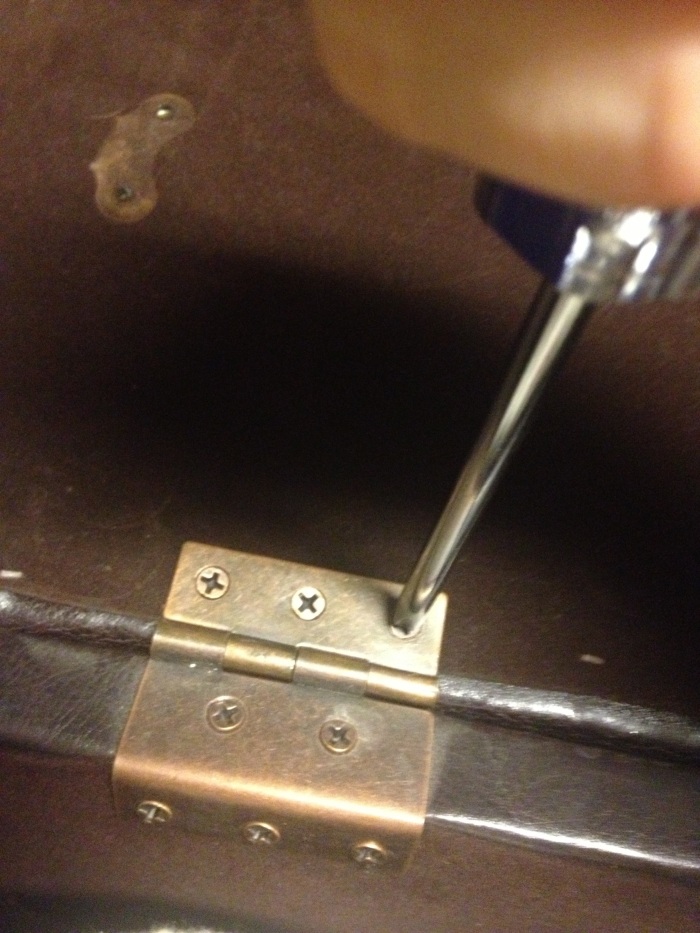
So I took the top off of the hinges (it’s a storage ottoman so my best bet would be to only cover the top).

20130904-151230.jpgThen I laid the burlap flat on the ground (pattern side down) and put the top of my ottoman (top side down) on top of it making sure to line up the edges with the chevron pattern.

20130904-151507.jpg
Next, I stapled. I started on one longer side, pulling the burlap loosely and just making sure I stapled along the chevron evenly all the way across. Then I did the same on the other long side, this time pulling the burlap tightly.

20130904-151923.jpgI then trimmed off the excess fabric and went to staple the shorter sides, starting in the middle and working towards the corners. Corners are tricky and I don’t really have a sure-fire way of doing it so I just pulled and tugged and twisted until it looked good, then I stapled the crap out of it.

20130904-152335.jpgNow that she was all stapled up and secure, I attached the top back to the base of the ottoman.

20130904-152617.jpg(So easy I didn’t even have to pull my quilts out.)
VOILLA!

20130904-152912.jpgOne piece of furniture down, the rest of the den to conquer. Stay tuned as I shop for cheap slip covers for my couches. (Any ideas or suggestions would be greatly appreciated)

20130904-155106.jpg

20130904-155118.jpg