Lady In Waiting

20131126-223449.jpg About 2 years ago, I decided to make an awesome corner shelf made from an old door courtesy of Pinterest.
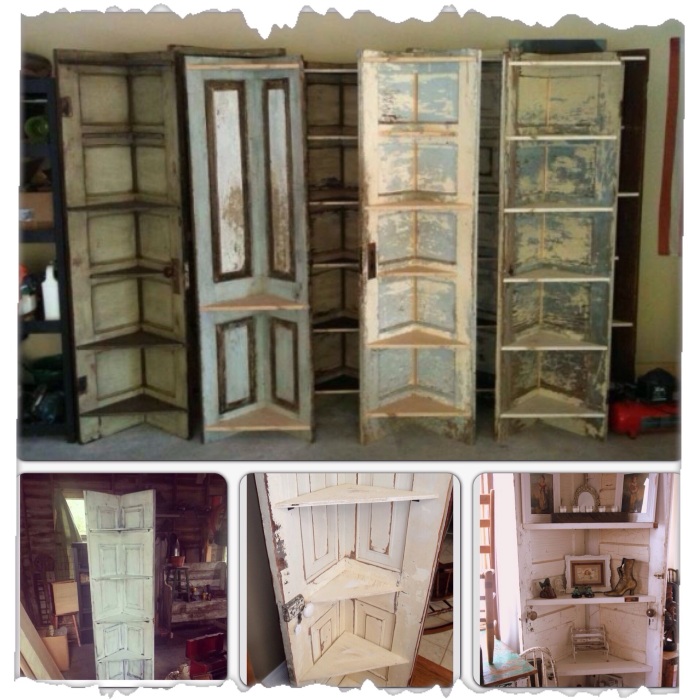
20131126-224634.jpg They look so cool and its such a neat idea not to mention an interesting and unique piece to have.
My dad gave me a ficus tree back in my bachelorette days and he was super proud of it. So it has followed me from house to house and it has not aged gracefully. I really wanted to get rid of it and I thought a door shelf like the ones on Pinterest would be the perfect size to fill the space of the intrusive ficus in the corner of my living room.
So let’s go back two years. I’m searching for an old, solid wood door to start my project. You would think they would be easy to find seeing all of the projects people do with them, or maybe that’s why they are so scarce. Anyway, I found a nice sliding closet door at my local Habitat for Humanity. Perfect! It was already halved and hinged. I was pretty sure that would be the most difficult part, especially since I don’t own a saw and I’m scared of them. So I spray painted it a cute blue that matched my living room, at that point in time, I had yet to discover my beloved chalk paint. And there she sat, waiting in my dad’s shop for a year or more before I had my mom cut shelves for me on her saw. She’s not scared of heavy machinery and she did a great job taking square pieces of compressed wood and cutting them across diagonally to give me 4 shelves and keeping all of her appendages intact.
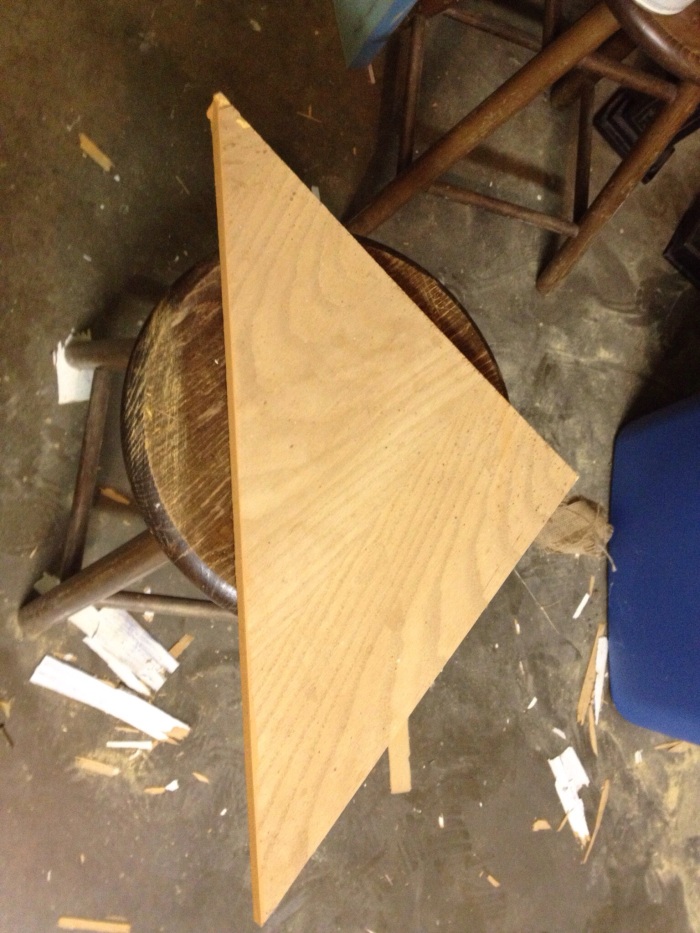
20131126-230616.jpg And then she sat again in the same spot until now. I took her home and formulated a plan for attaching the shelves. Looking at the door 2 years later, I was dissatisfied with its appearance. So I started dry brushing some bronze and a creamy yellow (that I picked out earlier that day to paint the shelves) on it until she looked nice and aged and kind of like a real door.

20131126-231152.jpg I painted the shelves while I waited for my husband to get home and help me with installing them. We decided to attach small pieces of wood on each side of the door to act as a lip for the shelves to rest on and then screw them into the pieces of wood from the top to secure it.

20131126-231656.jpg It seemed to work pretty well.

20131126-231847.jpg If you’re wondering why I’m using that weird scribbly frame on my photos it’s to hide my messy garage.
After that, I had my husband drill a hole in the side of the door to install a cute handle that has been waiting for 2 years to adorn this project.
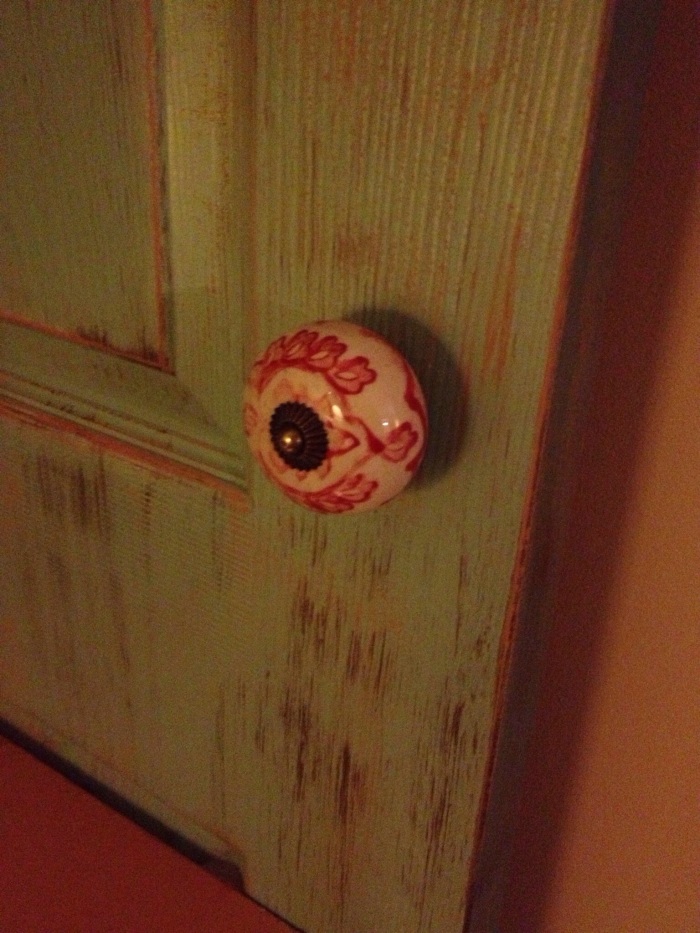
20131126-232152.jpg In all of my excitement, I forgot to dry brush the shelves to age them so now I have to figure out how to neatly do that without messing up anything else. But until then the Lady will continue to wait. She’s very patient.

20131126-232850.jpg You can see my little helper on the side. He wanted to be in the picture because he “helped make it”!

DIY Burlap Wreath

20131121-202625.jpg I’ve been feeling kind of depressed lately and I think it’s linked to the weather, which is linked to my lack of painting random objects. I haven’t done anything crafty in awhile and my creative juices haven’t been flowing. And as much as I try, my latest cooking excursions have been less than impressive. So I decided on a non-painting, crafty project, a wreath!
I found this really cute ikat print burlap at Hobby Lobby, but at $8.99/yd I didn’t want to do the whole thing in it. So I found a plain light burlap that matched very well and at $3.99/yd I decided to do the majority of the wreath in that. I got 2 yards of the plain burlap and 1 yard of the printed. I picked up a 24″ wreath form at Joann’s for $4.99. (You will need 2 yards of total fabric for a wreath that size)

20131121-204004.jpg I cut the plain burlap into strips about 5″ wide running the length of the fabric (2yds).

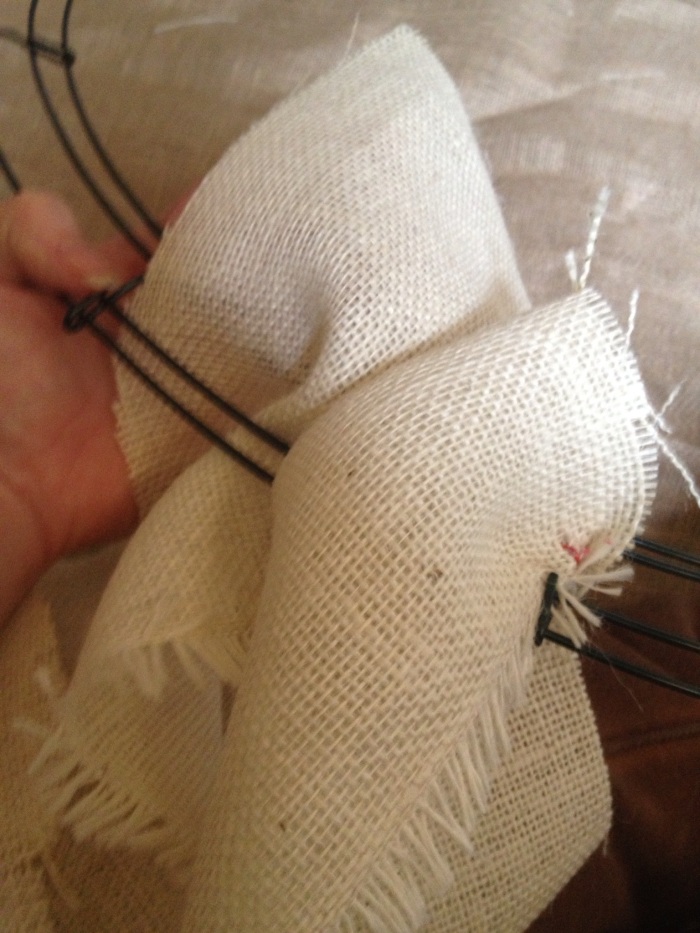
20131121-204337.jpg Start by attaching the end of a burlap strip to the wreath form. You could use hot glue, safety pins or twist ties. I prefer twist ties or safety pins so you can adjust it later.

20131121-204618.jpg Then weave the fabric through the middle gap on the form. Going over the bottom then through the middle and repeat going over the top and through the middle, kind of like a figure eight. Leaving space in the fabric to fluff.

20131121-204854.jpg

20131121-204912.jpg It should start looking like this.

20131121-205043.jpg When one strip ends, attach it to the wreath form an start another. And don’t worry if the form is showing through a little. (We’ll get to that later.)

20131121-205246.jpg When you’ve got the burlap wrapped the full length of the form it should look like this.

20131121-205401.jpg Now to fill in those gaps. Cut the printed burlap into the same 5″ strips.

20131121-205611.jpg Then randomly start weaving it through, filling in the gaps as you go along, making it look awesome!

20131121-205805.jpg Then add your accessories! I like to hot glue safety pins to my accessories so I can remove them and change them with the seasons. You could add a pumpkin and leaves for fall or bunnies and eggs for Easter. One wreath, all occasions. Can’t beat that!

20131121-210205.jpg

Rotisserie Chicken Soup

20131107-082830.jpg

The weather is getting colder and I’m painting less. It’s bittersweet as I’m focusing on a new hobby/nemesis – cooking. It’s been dreary and wet all day, perfect for soup.
I like easy, so of course I love rotisserie chicken, it’s cooked perfectly and ready to go at your grocery store for around five bucks. Can’t beat that!
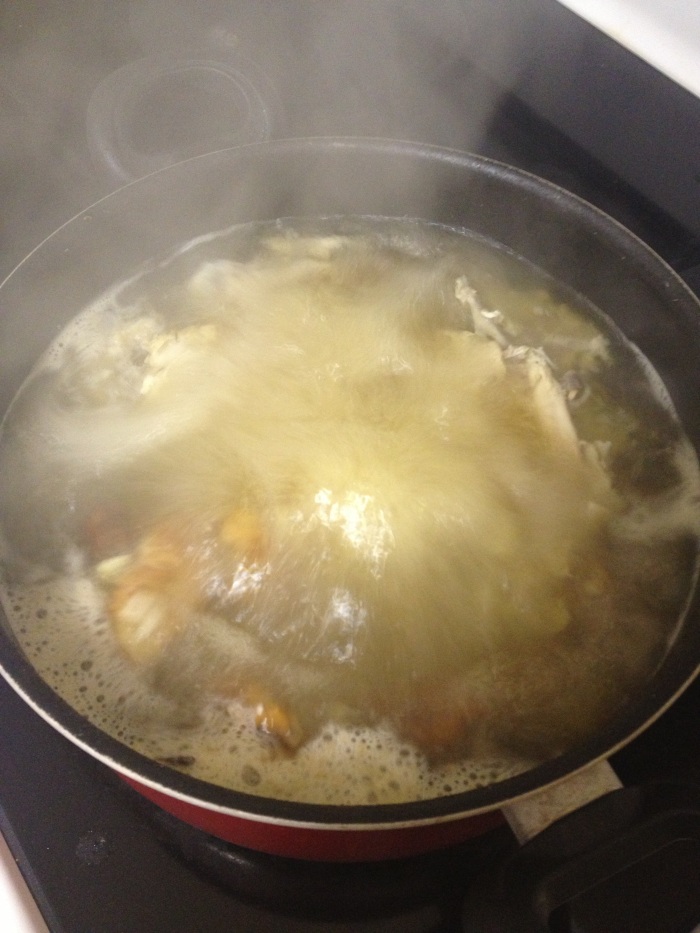
Start by putting a big ol’ pot o’ water on the stove and bring to a boil. Add a couple of bay leaves and 2-3 cloves of chopped garlic. As its boiling, clean the meat from your chicken, set aside and throw all of the skin and bones and gross slimy mess into the pot. It’s much easier to debone a fresh and hot rotisserie chicken.Then sit back and read a book while it boils for about 45 minutes. Add some water if it gets low.

20131107-083649.jpg
Bam! You just made chicken stock! Aren’t you proud of yourself? I know I was!
Now run the stock through a fine sieve to discard all of the grossness then return the pot full of the now-not-gross stock to the stove. At this point you can freeze the stock to use for later. Now add your chicken meat, a tablespoon of italian seasoning, salt and pepper and some frozen vegetables. I used ‘Pictsweet’ frozen soup vegetables. bring back to a boil then simmer for 10-15 minutes.

20131107-084551.jpg There you have it! Easy-peasy homemade chicken soup! It’s even better the next day!
Ingredients:
1 rotisserie chicken
2-3 garlic cloves, chopped
2 bay leaves
2 cups frozen vegetables of your choice
1T Italian seasoning
Salt and pepper to taste

20131107-085701.jpg

Easy Mini Frittatas

20131103-093714.jpg
What is it about farm-fresh eggs? They are so light and fluffy and they just taste…fresh! I have a client that brings me eggs from her brothers farm in exchange for hair services. Best trade ever! My boys love eggs and could eat them for every meal. So last night when they wanted eggs for dinner I had to get creative. I knew the hubs wouldn’t be satisfied with scrambled eggs alone.
I decided on a fritatta. You can add just about whatever you want to some eggs and milk and come out with a delicious full meal.
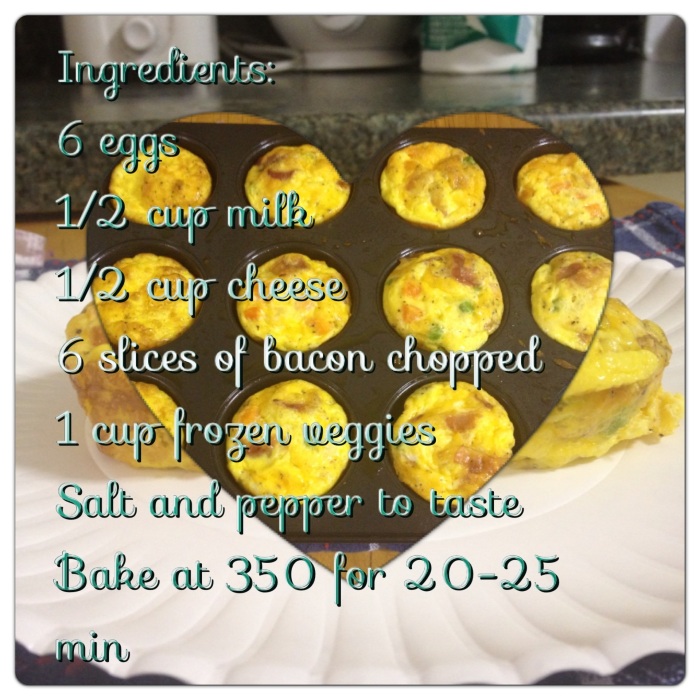
I cracked 6 eggs into a medium bowl, added 1/2 cup of milk and whisked. I then added 1/2 cup of shredded mild cheddar cheese and salt and pepper to taste. I have a picky eater so instead of making one big frittata I decided to use a muffin tin so I could make a few without veggies in it. So at this point I scooped out a few “plain” fritattas into the muffin tins (greased or sprayed with cooking spray) filling each one about 3/4 full. Then I added 6 slices of precooked bacon (chopped) and one cup of frozen peas and carrots but you could use whatever veggies you have on hand. After mixing the remaining ingredients, I scooped the mixture into the rest of the muffin tins and popped them into the oven (preheated to 350) and baked for 25 minutes. When they were done I used a small knife to ease the frittatas out of the tins.

20131103-095325.jpg
So easy and so delicious. I’m already thinking about what to use next time, ham? Tomatoes? Feta cheese? Taking about 30 minutes, I can see this being my new go-to quick meal.
Ingredients:
6 eggs
1/2 cup milk (I used 2%)
1/2 cup cheese
6 slices of bacon chopped
1 cup frozen veggies
Salt and pepper to taste
Bake at 350 for 20-25 min

20131103-100729.jpg

20131103-100738.jpg